Virtual reality devices: what you need to view and create a 360° tour
Smartphones, headsets and 360° cameras: which devices you need to view a virtual tour and which to make one.
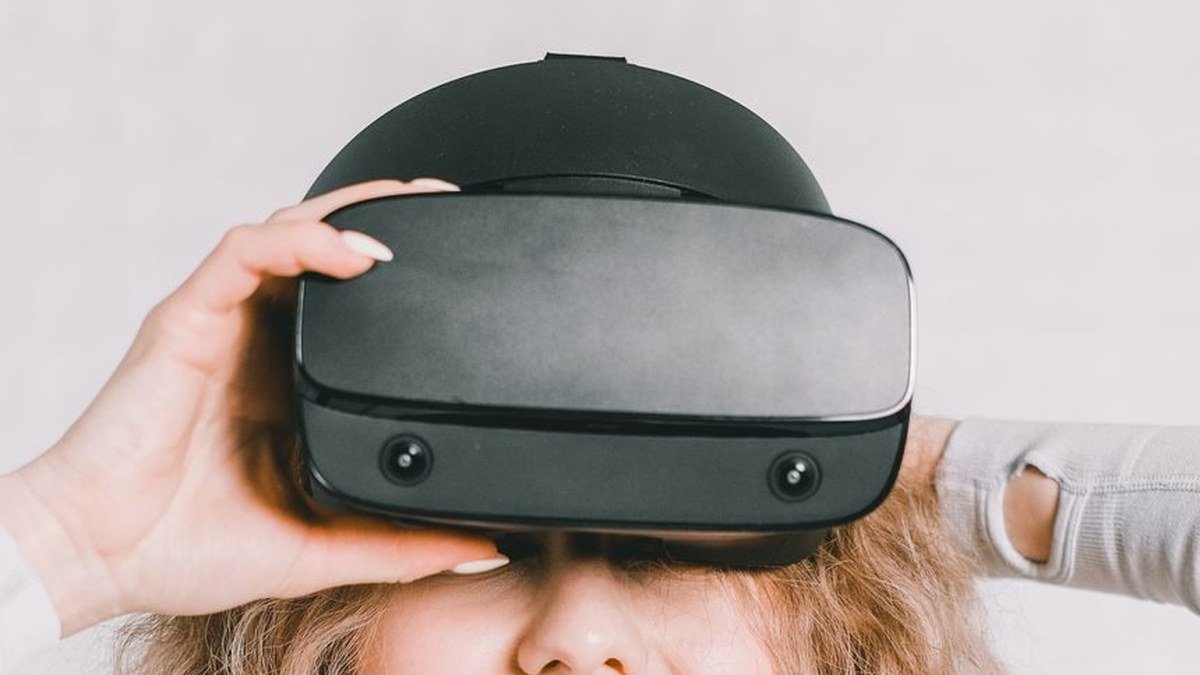
To view a 360° virtual tour, the smartphone or computer you already own is enough; for an immersive experience you need a headset; to create a tour you need a 360° camera. Here are the devices, grouped by use.
Which devices do you need to view a 360° tour?
- Computers and tablets: the tour opens in the browser and you turn the view by dragging with the mouse or a finger.
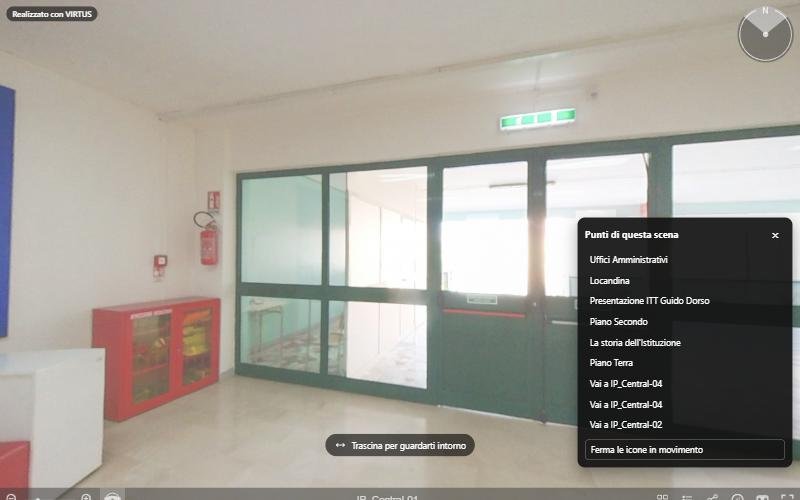
- Smartphones: thanks to the gyroscope, the view follows the movement of the phone. VIRTUS tours also have a stereo mode: the phone, placed in a cardboard or plastic viewer, shows two images side by side, one for each eye.
- Standalone headsets, such as Meta Quest 3 and Quest 3S: they need no computer and no cables, and open tours in their browser.
- Headsets connected to a PC or console, such as PlayStation VR2: designed mainly for video games.
Which devices do you need to create a tour?
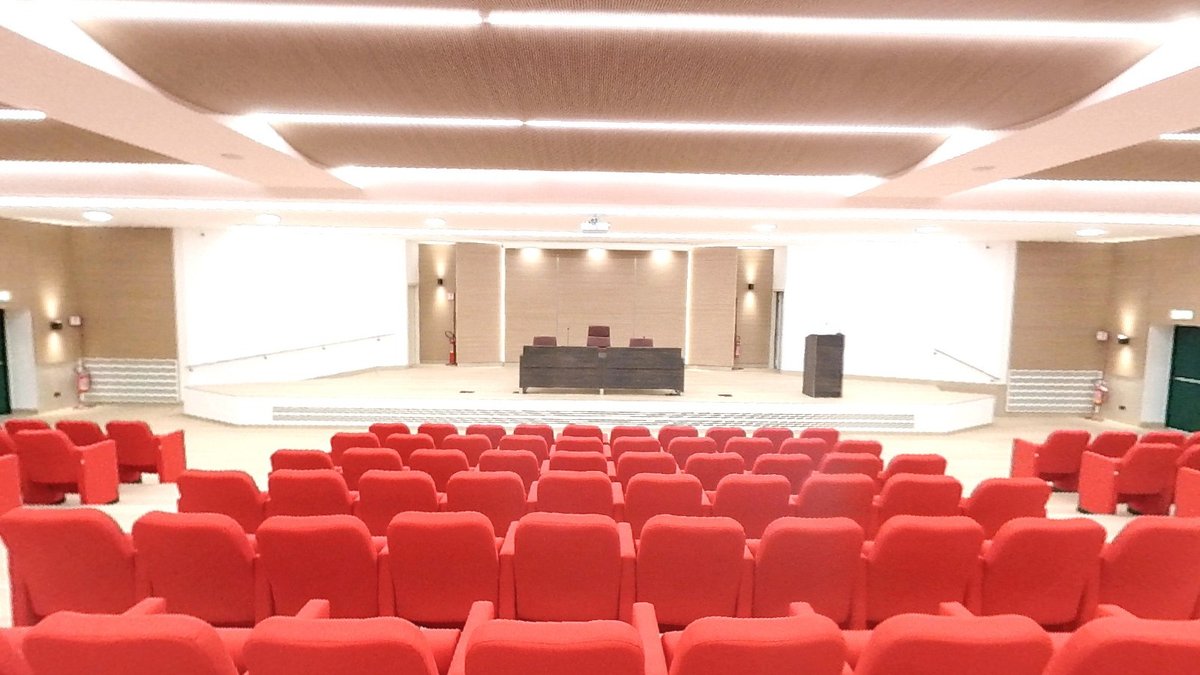
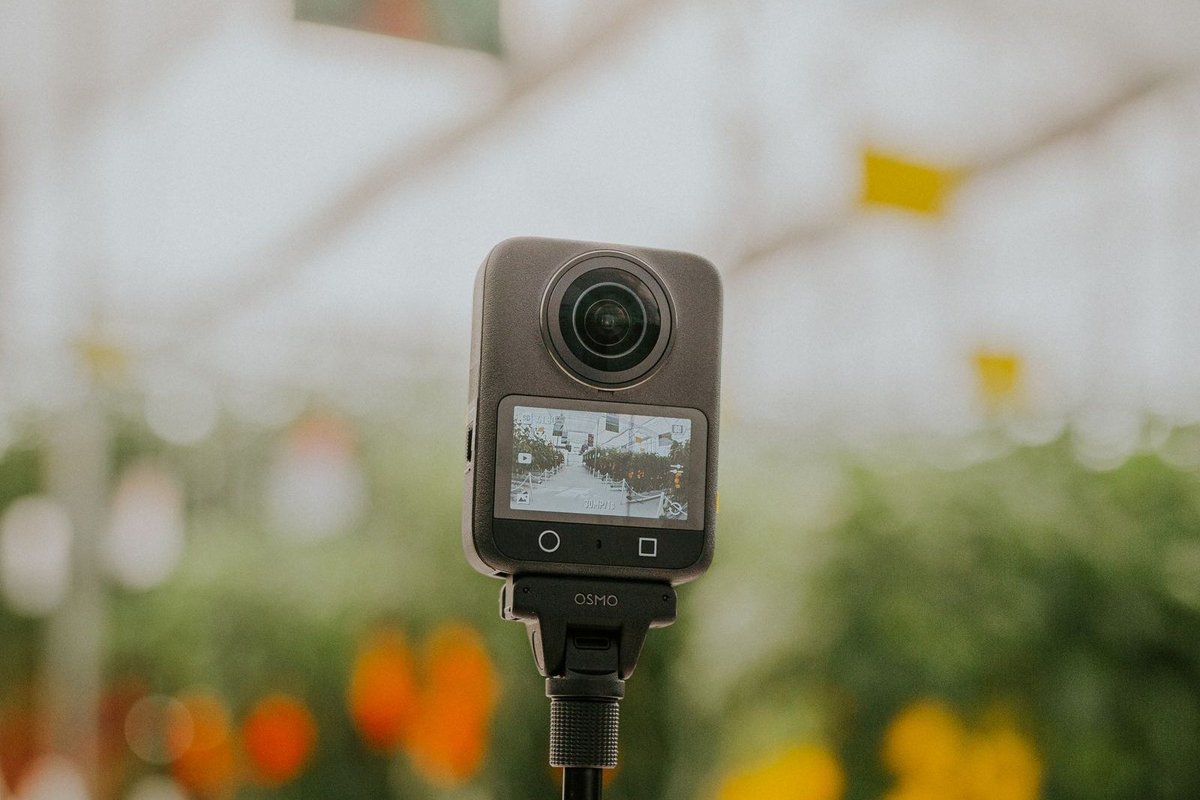
- A 360° camera with two wide-angle lenses: it captures the whole sphere in one shot and saves an equirectangular image, twice as wide as it is tall (2:1).
- A tripod or a thin monopod, to keep the camera at eye level, about 1.5 metres, and make it almost disappear from the photo.
- The camera's app on the smartphone, to shoot remotely without appearing in the picture.
Alternatively, a DSLR or mirrorless camera with a fisheye lens and a panoramic head: higher quality, but the shots must be stitched on a computer.
What matters when choosing?
- Resolution: with at least 5.7K (about 5760 × 2880 pixels), details stay sharp even when zooming in.
- Light: larger sensors and HDR handle dark interiors and bright windows better.
- Headset comfort: weight, lens distance adjustment, use with glasses.
In short
To publish a tour with VIRTUS, a 360° camera and a tripod are enough; visitors use the device in their pocket. The models we use and recommend are on the VR devices page.