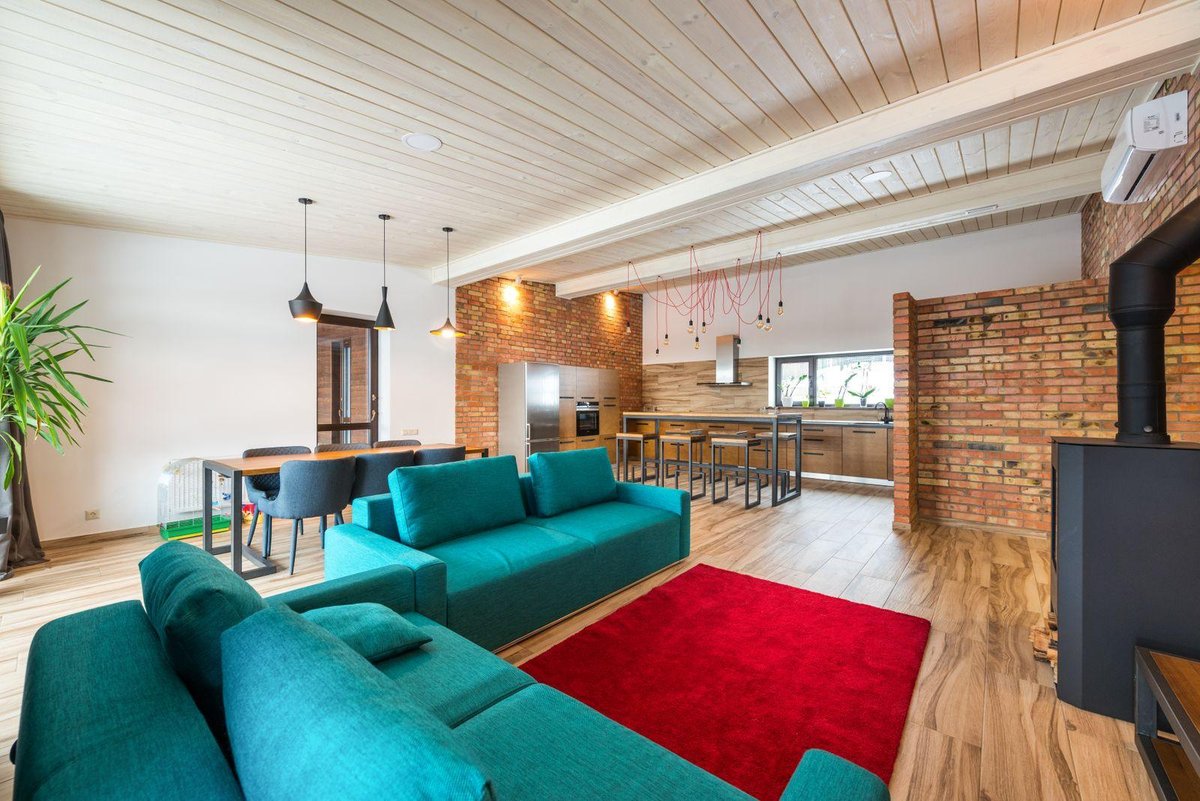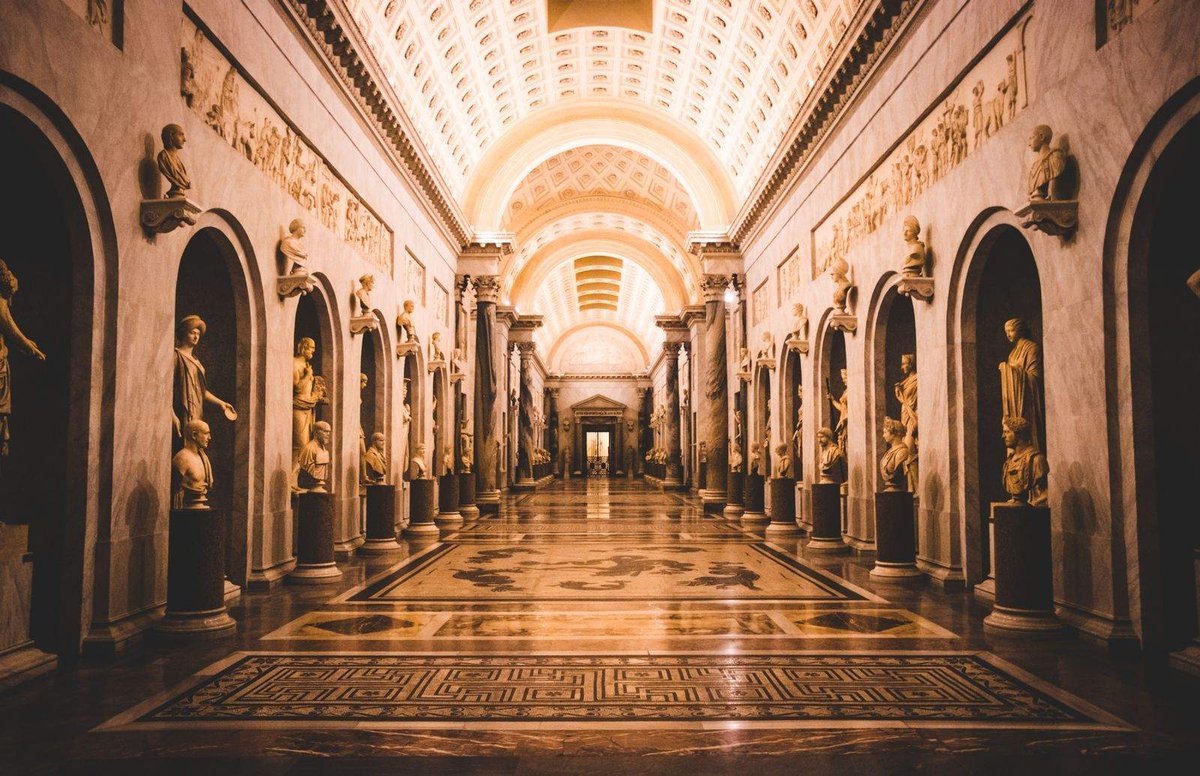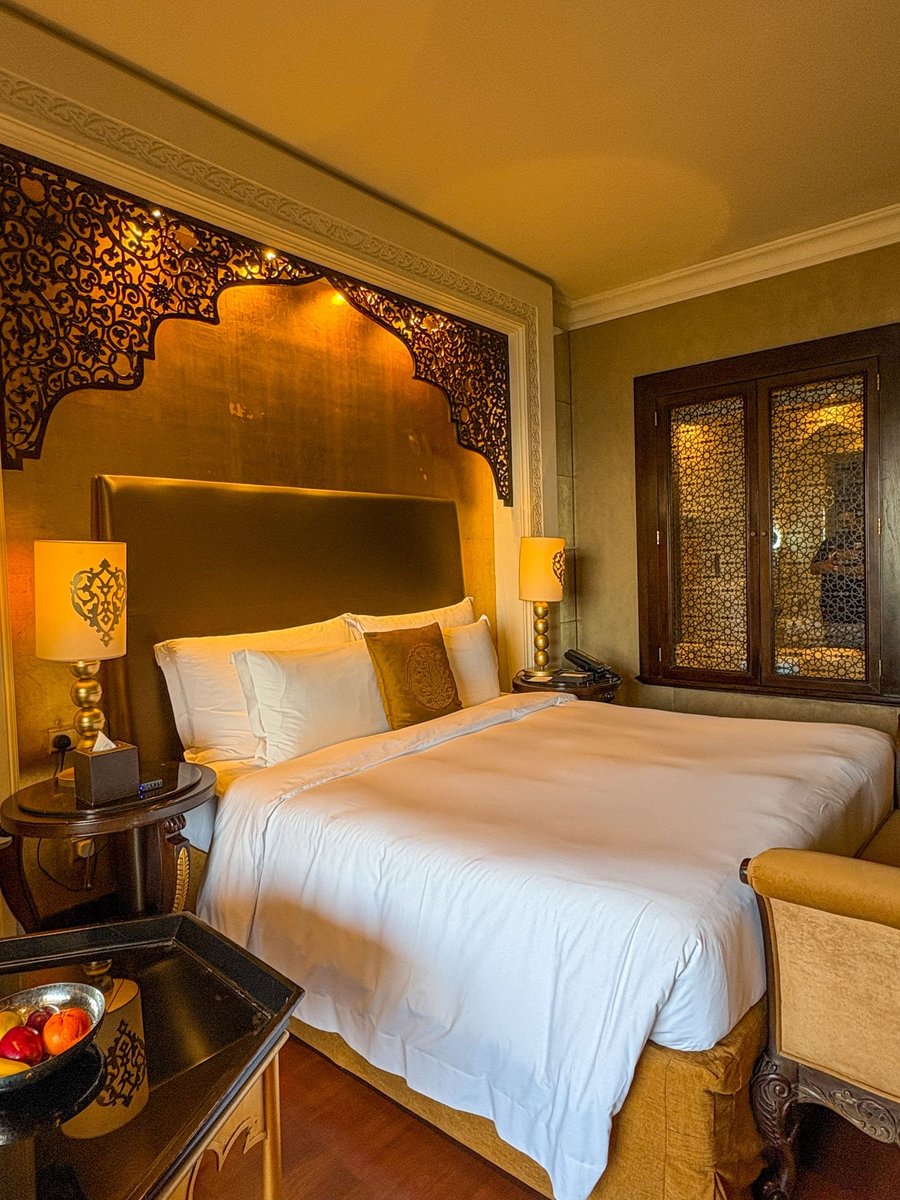
Link the scenes of your tour together

The arrows that let visitors walk from one room to the next.

A virtual tour works when visitors move from one room to the next as if they were walking. In VIRTUS you do it with links: the arrows that lead from one scene to another.

Adding a link

  1. Open the starting scene in the editor.
  2. Press Link in the top bar and click in the panorama where you want the arrow, for example on the door to the next room. If you prefer the keyboard, turn the view with the arrow keys and press Add at the centre of the view.
  3. Choose the destination scene: the arrow appears at once.
  4. Drag it to move it, or type its position in degrees in the Position section of the panel.

How the arrows look

In the Point tab choose the icon, the style (classic, minimal, solid, 3D, isometric or glass), the colour and the size. You can lay the arrow on the floor or on a wall, so it is seen in perspective, or keep it flat on the screen. With Scale with zoom it grows and shrinks like an object in the room; with Bounce or Pulse it catches the eye without getting in the way.

Tips for a natural path

  • Always add the link back, from the room you arrive in to the one you came from.
  • With Keep the direction, on by default, people entering a room keep looking the way they were walking, as when going through a real door.
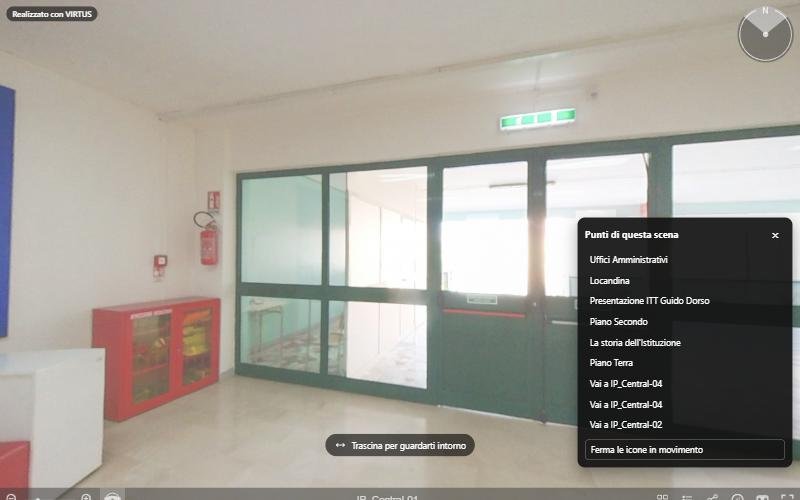
  • Give a label to arrows that lead far away ("Exit", "Offices"): it shows on hover and in the Points of this scene list.
  • For something that must be in every scene of a room, such as the logo or the exit, use a master icon.

If you make a mistake, Undo and Redo keep your last ten actions.

More articles

All articles →

From the blog

All articles
Guide

Create your first virtual tour in five minutes

From uploading your 360° photos to sharing the link.
Guide

Link the scenes of your tour together

The arrows that let visitors walk from one room to the next.
Guide

Add information, photos, videos and sounds to your tour

Points that open a card, a web page, a sound or a questionnaire.
Guide

Customise your tour: cover, music, menu and logo

The settings of the Tour tab, from privacy to background music.
Guide

Improve your photos: filters, horizon and sun glare

The Photo tab of every scene, step by step.
Guide

Share your tour and embed it in your website

Link, code for WordPress and other sites, unbranded link for property portals.
Accessibility

VIRTUS is accessible: what it means for you and your visitors

The European rules, what VIRTUS does for you and what you can do.
Accessibility

Visiting a tour without a mouse: keyboard and screen readers

The viewer's keyboard controls and the "Points of this scene" panel.
Accessibility

Writing accessible tours: titles, descriptions and alternative text

Seven tips for a tour everyone can understand, even without seeing it.
Accessibility

Creating and moving points with the keyboard in the editor

Add at the centre of the view and position in degrees: the editor without dragging.
Guide

Virtual reality devices: what you need to view and create a 360° tour

Smartphones, headsets and 360° cameras: which devices you need to view a virtual tour and which to make one.
Guide

Latest-generation headsets: what changes and how they show 360° tours

Meta Quest 3, Apple Vision Pro, Samsung Galaxy XR, Steam Frame: what is new in recent headsets and what it means for virtual tours.
Guide

Communities and virtual tours: why people meet around virtual reality

Photographers, schools, agencies and hotels share ideas in communities: what you gain and how the VIRTUS Community works.